


Chapter 9 Exercises
Exercise 4: Deleting a Cookie
The final concept to understand about using cookies is how to delete one. Although a cookie automatically expires when the end user’s browser is closed or when the expiration date/time is met, sometimes you will want to manually delete the cookie as well. For example, websites that have registered users and login capabilities generally delete any cookies when the user logs out.
The setcookie() function can take up to six arguments, but only one is required—the name. If you send a cookie that consists of a name without a value, it will have the same effect as deleting the existing cookie of the same name. For example, to create the cookie username, you use this line:

To delete the username cookie, you code:

As an added precaution, you can also set an expiration date in the past:

In this exercise you will add a reset feature to the web application that will destroy the sent cookies and display the default colours once again.
Note: A number of Helpful Tips are located at the end of this web page for reference as you complete this exercise.
To delete cookies:
Script 9-4: This form is used to select the background and font colours for another PHP page.
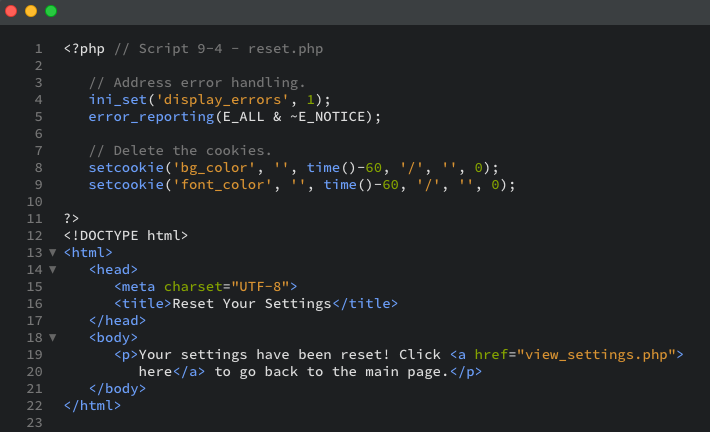
- To begin, create a new PHP document (Script 9-4) in Brackets.

- Delete the existing cookies by sending blank cookies:

These two lines send cookies named bg_color and font_color, each with no value and an expiration time of one minute ago. As you did when creating cookies, you must call the setcookie() function before anything else is sent to the web browser. - Complete the PHP code and create the HTML head with the title Reset Your Settings:

- Print the page's body:

The body of this script merely tells the user that their settings have been reset. A link is then provided to return to the main page. - Complete the HTML:

- Save the file as reset.php and upload it to the production server at studentuploads.ca to the chapter9 directory (https://www.studentuploads.ca/firstl/202/chapter9), and test in your browser (Figures 9-14 and 9-15). Ensuring you are looking at the production server version of the file, and ensuring it is saved to the same location as customize.php and view_settings.php.
Figure 9-13: Note that when you run this script, you will still be able to see the cookie as saved in your list of sites. That is because, when the setcookie() function is used with a name but no value, the existing cookie of that name is deleted. The expiration date in the past also guarantees proper destruction of the existing cookie.
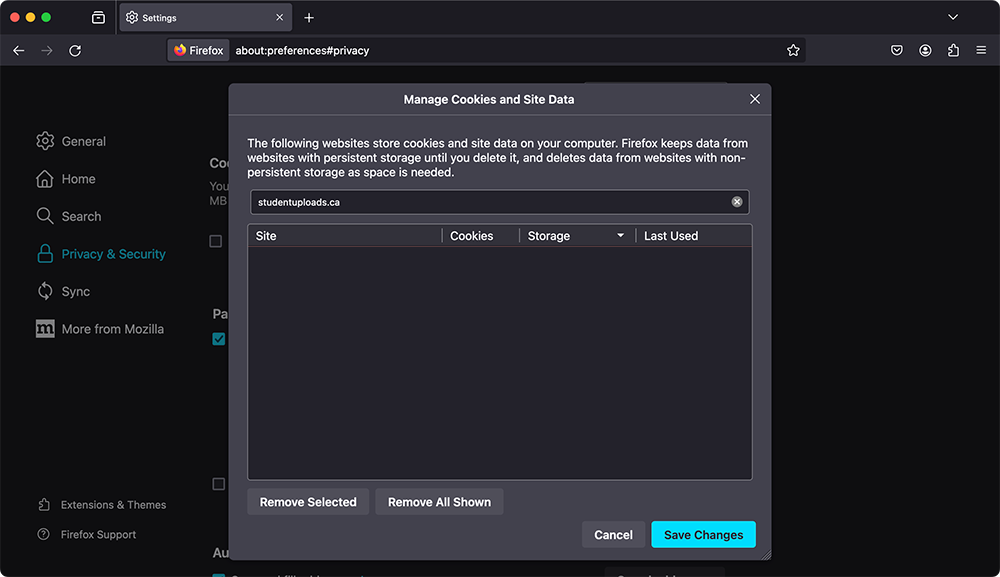
Figure 9-14: The reset page sends two blank cookies and then displays this message.
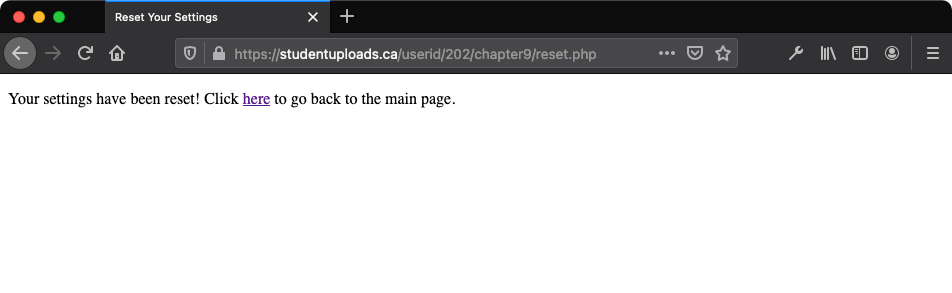
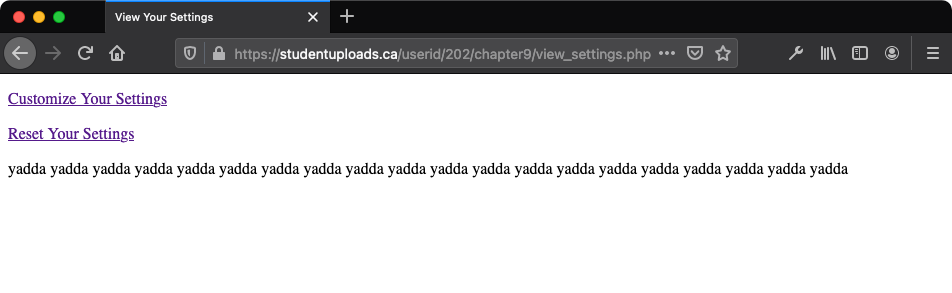
Figure 9-15: With the reset page, PHP destroys the cookies (Figure 9-13), which resets the main page to its default colours.
Important: If something doesn’t look right in your document, and you need to make changes to the script, follow the editing procedure using Synapse outlined in Chapter 1.

- Just as creating a cookie does not take effect until another page is loaded, deleting a cookie does not take effect until another page. This is to say that you can delete a cookie on a page but still access that cookie on it (because the cookie was received by the page before the delete cookie was sent).
- Just as creating cookies has mixed results using different browsers, the same applies to deleting them. Test your scripts on many browsers and play with the setcookie() settings to ensure the best overall compatibility.
- In the remainder of this chapter you will use sessions to create a login/logout application. Using the cookie techniques demonstrated so far, you could also create a cookie-based login/logout feature using the same sample scripts as your basis. But attempt this, only if you have ample time!